
Behind each VU1 needle sits a small e-ink panel: 200×144 pixels, 1-bit monochrome, taking about two seconds to redraw. That suits a static background or label behind the moving needle, and with the free VU1 Dial Controller you can put any image there.
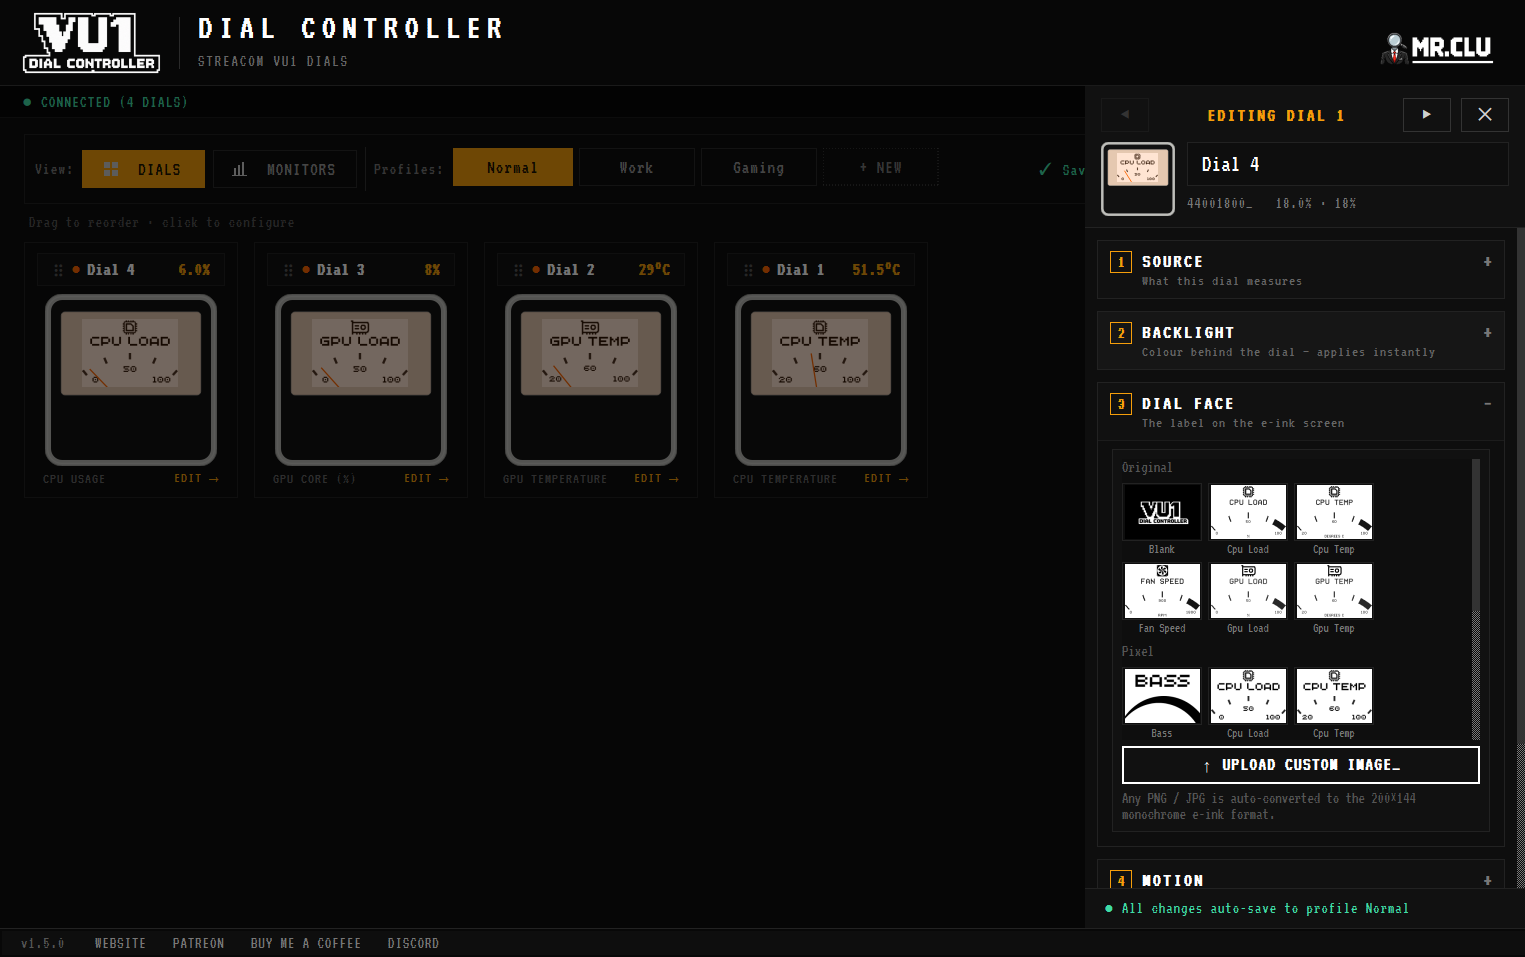
> Upload takes about a minute_
01 Select the dial from the dropdown, then open the Image tab.
02 Pick a built-in design or click Browse for your own PNG, JPG or BMP (up to 20 MB).
03 Check the preview, which shows the image after conversion to 200×144 monochrome.
04 Click Upload to Dial. About two seconds later it's live on the e-ink face.
> The conversion is automatic_
Drop in any image at any size. On upload the app auto-rotates by EXIF orientation, centre-crops to the 200:144 aspect ratio, resizes, flattens transparency onto white, and converts to black and white. Because it centre-crops, keep anything important away from the far edges.
> Design tips for a monochrome face_
- ■Go high-contrast. Pixels are thresholded to pure black or white with no dithering, so bold shapes beat soft gradients.
- ■Design at 200×144. Working at native size gives the most predictable result and puts detail exactly where you want it.
- ■Leave room for the needle. The needle pivots at the bottom centre; labels read best in the upper half.
New to the app? Start with the VU1 dials setup guide.