
A sensor panel puts hardware readings on a spare monitor or an in-case display. The useful choice depends on how you want to build the layout, which sensors you need and how the screen connects.
This comparison was checked against the linked project documentation on 7 September 2026. MR.CLU develops CLU VIEW. The screenshot and editor instructions below come from CLU VIEW; this is a feature comparison, not a timed performance test of competing apps.
Choose the workflow first
For a visual panel editor on Windows or Linux, start with CLU VIEW. For Windows desktop skins and configuration files, consider Rainmeter. InfoPanel is another Windows option with its own sensor and display integrations. AIDA64 is included below as a paid reference because many readers are comparing against SensorPanel.
CLU VIEW: a visual canvas
CLU VIEW has 14 widget types and 216 styles, with gauges, graphs and text monitors you can place on a freeform canvas. It runs on Windows and Linux. Choose a widget, assign its Monitor in Properties, then set the range and appearance. Profiles can be exported and imported.
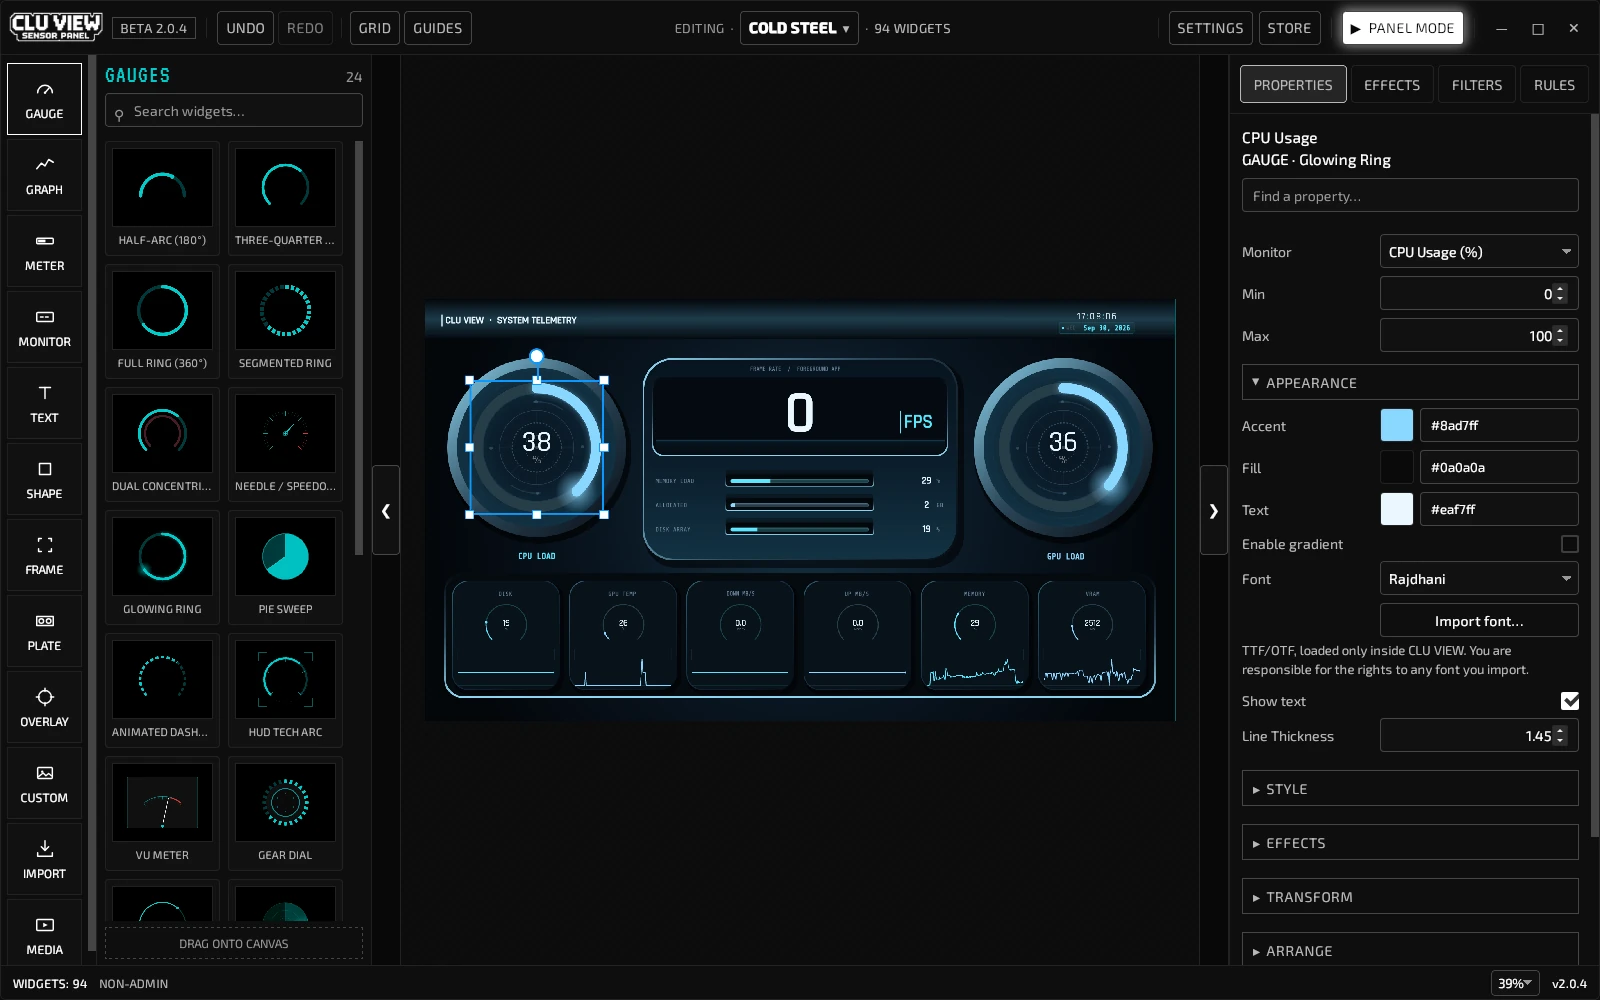
To check the workflow yourself, open the library, add a CPU usage gauge and set its range to 0–100. Resize it, add a GPU temperature text monitor, then save the profile. The illustrated setup guide shows the controls. You can also build a widget from your own image frames.
The public app is free. Optional membership adds design packs and early builds when available. Sensor coverage depends on your hardware and operating system; read the Linux guide before assuming that a Windows reading will also be available there.
Rainmeter: Windows desktop skins
Rainmeter is free and open source. Its skins can show system information and other desktop content. Editing a skin often means working with its configuration files. It suits someone who wants that control or already has a skin collection they like.
The sensor source depends on the skin. Rainmeter does not require HWiNFO for every reading. If a particular setup uses HWiNFO shared memory, HWiNFO’s current licence table lists a 12-hour shared-memory limit in the non-Pro 64-bit version. Check the skin’s instructions before buying another application.
InfoPanel: another Windows panel editor
The InfoPanel project documents HWiNFO shared-memory support, LibreHardwareMonitor integration and several external-display integrations. Its display guide is useful if you already own a USB panel. Support for a named display family should still be checked against the controller and revision you own.
LibreHardwareMonitor itself is a hardware-monitoring project. InfoPanel and CLU VIEW use it for Windows readings, but provide their own layout editors. Check the actual sensor list on your PC rather than choosing from a claimed universal coverage ranking.
AIDA64 SensorPanel: a paid reference
AIDA64 SensorPanel provides graphs, gauges, custom images and sensor-linked text within AIDA64. It has a visual editor; creating an ordinary SensorPanel does not require writing HTML. AIDA64 also provides diagnostics and benchmarking beyond the panel itself.
At this review, the official store lists Extreme at US$65.95 for three PCs with a 30-day trial. Check the checkout for current terms and taxes. If you use its wider diagnostics features, those belong in the comparison too.
Check your screen before installing
A screen that Windows or Linux recognises as a desktop display uses normal display output. A USB-only smart screen can require a specific protocol. The same diagonal size or case design does not prove that two devices use the same controller.
CLU VIEW’s direct Turing/XuanFang USB output is experimental. This review does not establish compatibility with a particular physical revision. The USB-screen guide explains the distinction. For a normal secondary display, follow Panel Mode setup.
Compare on the same workload
Use the same screen resolution, sensor refresh interval and number of widgets when comparing applications. Start with a static layout, then repeat with any effects you actually intend to use. Watch CPU, GPU and memory use after the layout has settled. Record the application version and the sensor backend alongside the result.
No comparative resource-use or setup-time result is claimed here. A simple static panel and a screen full of animated widgets are different workloads. Choose a layout from the template catalogue if you would rather begin with a finished design.